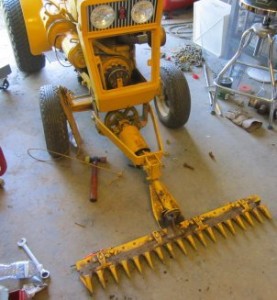
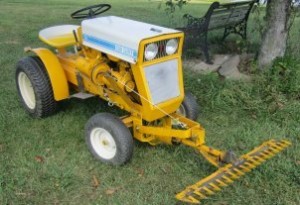
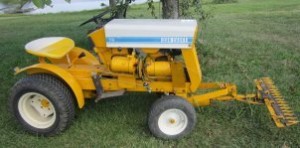
When I purchased my Jiffy Balling mower, I mounted it on a Model 72 Cub Cadet. The seller had warned me that the front pulley might not line up with the PTO pulley. And, sure enough, the mower pulley sat forward of the PTO pulley by about ¾ of an inch.
I didn’t realize at the time, but the distance from the mule drive mounting holes to the PTO pulley is not the same on the early model Cub Cadets and the later models. The Jiffy Balling mower was advertised to fit models 70, 100 and 71. There must have been two different styles since the distance on the 71 is not the same as the 70 and 100.
But it wouldn’t have made any difference, since I have a Haban mower mounted on my Model 70 Cub Cadet. (It has the same problem with alignment.) I like the Model 70/Haban combination and am not willing to give that up. So the Model 72 was the option I chose.
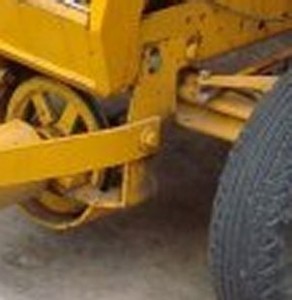
The picture isn’t real clear, but you can get an idea of what the original mount looked like. You can barely make out that someone had taken a torch to the back of the mounting bracket (towards the bottom) cutting out an approximate 1 inch strip all the way around the back of the bracket. You can’t see the alignment problem in the picture. Also, the main drive pulley was obviously a replacement and was the same width as the slot it set in. The hub of the pulley rubbed both sides of the slot.
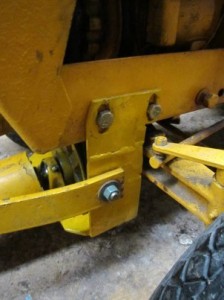
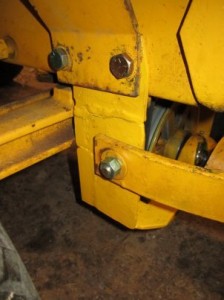
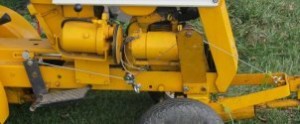
I couldn’t figure out what the person that had taken the torch to bracket had in mind, so I came up with my own scheme for mounting. On both sides I cut the bracket in two 3 inches below the top of the bracket. I had determined that the pulley was 5/8” out of alignment, so I slid the bottom section I’d cut off back 5/8” and welded everything back. I also welded a 1 inch strip around the back section to return the bracket to its original depth.
You can see the welds in both pictures above. It’s easier to see the one inch strip I welded back in the right picture. When I moved the bottom section back, there was a small section of the top that protruded outward at the front that had to be cut off.
I put the pulley in a lathe and cut down the hub as much as I could without cutting into the keyway. It made for a tight adjustment, but after removing some metal, the hub fit without rubbing.
When I attached the lift cable, it rubbed on my hydraulic lift. I had to add a snatch block to the frame of the tractor to reroute the cable to prevent the rub.
And that was it. A video of the mower in operation can be seen in the video section of this website.
As always if you have any questions or comments, you can contact me through this website.
