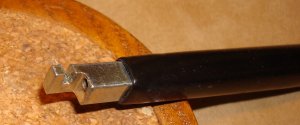
I used to use a couple needle nose pliers to make the z bends for throttle and choke cables. Eventually, I purchased a device made specifically for that task. While it doesn’t make as compact a bend as I like, I generally use it if I don’t want to take the time to remove the cables from the Cub Cadet. I’d thought I’d include a description here since it’s a process that’s pretty simple to duplicate. The bender looks like this:

Since it’s not obvious from the picture, here’s two closeups of the ends.
To use the bender, insert the throttle wire in the hole in the end.
 After the wire is inserted in the hole, it is bent forward (or downward depending on your perspective).
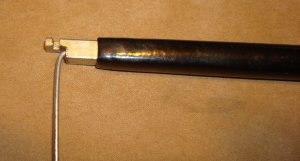
After the bend, the wire is rotated around until it is seated in the slot in the tool.
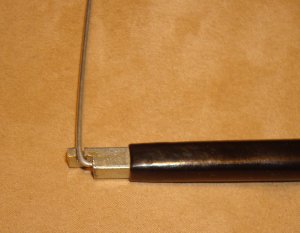
The wire is then bent forward.

The wire can then be rotated out of the slot and removed from the bender. The finished product looks like:
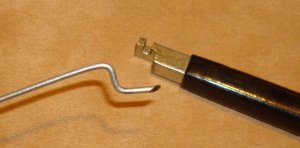
Notice in the above photo that the resulted z bend is not very compact and the bends are more rounded then I like. The device is easy to use and it’s pretty fail safe, but although it’s not obvious in the picture, it’s a fairly “wide” z bend.
If I have the cable removed from the tractor, I came up with another method that I prefer. I made a fixture by drilling a through hole (5/64″) in the side of a 1/2″ piece of steel from the scrap pile. Begin by placing the wire in a vice. The wire should be about a 1/4″ into the vice.
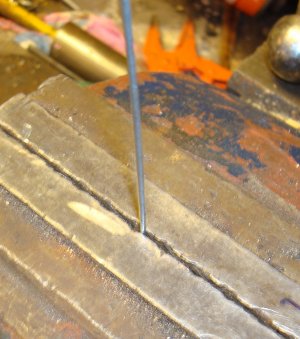
Using a hammer, make a bend. The hammer assures a sharp 90 degree bend.

Remove the wire from the vice and stick the 1/4″ length in the fixture.
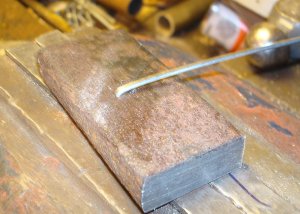
Place the wire and fixture in the vice. The depth that you place it will determine the width of the z-bend.
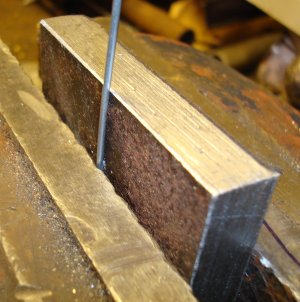
Again, using a hammer bend the wire forward.
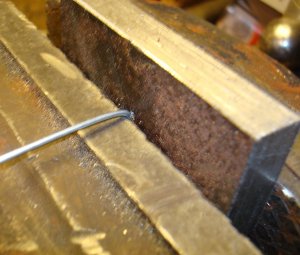
Remove the wire and fixture from the vice and you have a z-bend.
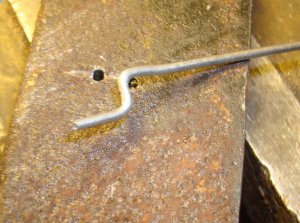
It’s not obvious from the picture, but the z-bend created has much sharper corners and is much narrower.
Again, I hope you find this article useful. I’m sure with a little creativity someone could come up with an even better and simpler bender. If you do, drop me an email. I’d be glad to hear from you.

