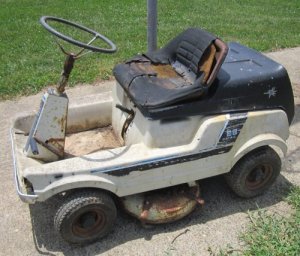
Even though I have enough Cub Cadets to fill my barn, I’ve always thought it would be neat to own a Cadet Model 95. So when a buddy offered me one for free, I couldn’t pass it up. He did say since it was free to not expect too much. When I picked it up he was right. It was going to require a lot of work. This article is about that work.
The IH Cadet 95 was offered for just two years between 1974 and 1975. They were powered by three 12 volt deep cycle batteries. IH only produced a total of 3,380 units so they are somewhat rare. They were affectionately known as part of the “Bathtub” line of Cadets because of their fiberglass body slightly resembling a bathtub. And besides being a rare item, it was something my grandkids would love to drive around.
When I picked up the Cadet from my buddy, it was sitting in the woods. It wasn’t in terrible shape, but it definitely wasn’t in good shape.
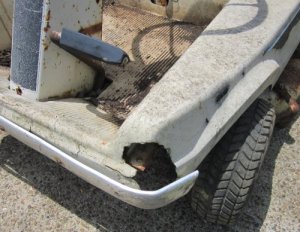
The front end had been smashed inward and both the right and left front had gapping holes.
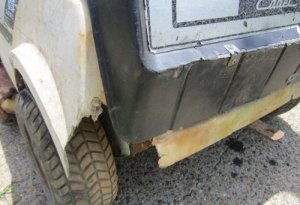
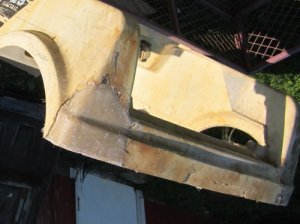
The center section of the rear end had been busted out and was just laying loosely in place. The left rear corner had a huge hole.
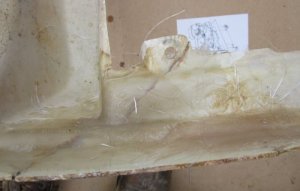
Several sections of the fiberglass were being held in position by small metal clips. The deck cover had several of these small clips. I discovered these small clips were the only thing holding these fiberglass sections together.
I hadn’t had much experience with fiberglass, so this was obviously going to be a real challenge. Fortunately I had a Cadet 55 that had the same general shape. The center section of the 55 was in bad shape, but other than the left front, all the corner sections were in good shape. I could use the 55 to make molds to replace the missing sections on the 95.
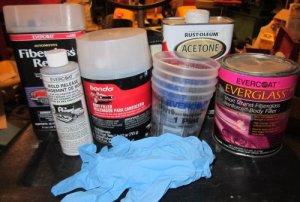
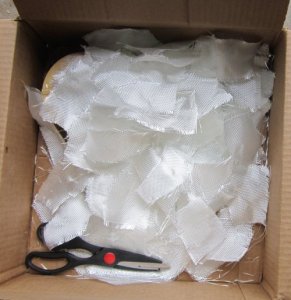
I collected the materials I felt I’d need to do the fiberglassing. I am by no means an expert, but did do a lot of reading on the subject before I started the process. I purchased fiberglass resin, cloth and mat. Most of the reading I did recommended Evercoat products as the best brand to purchase. I purchased the cloth and mat in 3 foot by 3 foot sections. I found it easier to work with the fiberglass material if I cut it into smaller sections. I created a variety of sections, but the pieces probably averaged about 2” by 2”. I found that the cloth didn’t unravel as badly if I cut it on the diagonal. I purchased a box of 30 two inch brushes from Harbor Freight and several measuring cups.
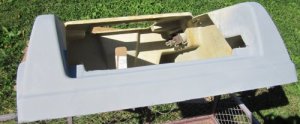
Since the rear end was in the worst condition, I decided to start there. I began by fiberglassing the broken out center section back into position.
With the center section in position, I was ready to make a mold of the left rear of the 55. I painted the section and sketched a rough outline of the area I needed on the painted surface. I masked off a section about 1 inch larger than the marked section.
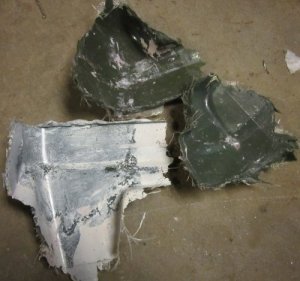
I waxed the masked off section twice and coated it with mold release. I mixed a batch of short strand fiberglass and “smeared” it over the masked section. To mix the fiberglass I just used nitride gloves, scooped out the fiberglass in my hand, added harderner and neaded the mixture like you would dough. It also helps to have gloves that are one size too small.
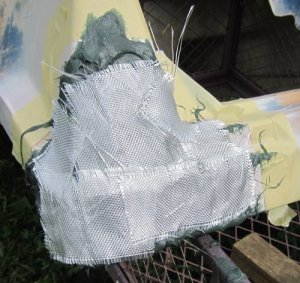
Notice in the picture the section is also covered with fiberglass cloth. I wanted to get the cloth on before the fiberglass mixture “went off” so there wasn’t time to take a picture in between. After the mixture had gone off, I coated it with fiberglass resin to complete the mold.
After the mold had hardened and cooled, it was an easy matter to pop it loose. The mold release works really well for that.
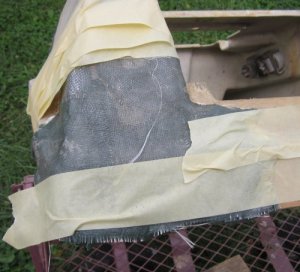
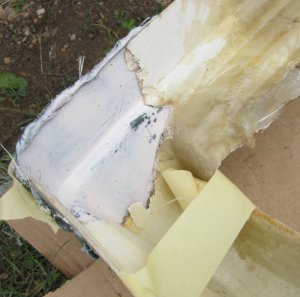
I painted the mold, waxed it twice, and coated it with mold release. I discovered painting the mold was not necessarily a good idea. The paint just becomes something else that has to eventually be removed. I placed the prepared mold on the Cadet 95 and taped it in position. Of course the area around the damaged section had to be sanded clean.
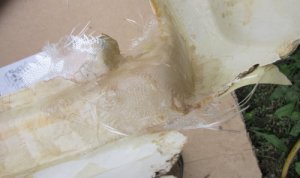
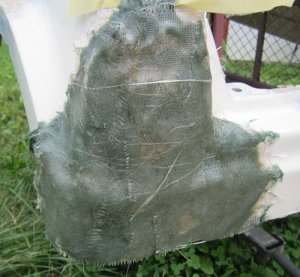
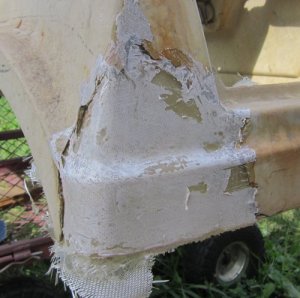
With the mold in position, I fiberglassed the section. The resin is painted on, fiberglass added, painted over with resin and more cloth added. Since I wanted to build the section up close to the original thickness, I alternated layers of fiberglass and mat.
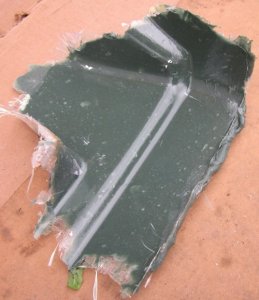
After the fiberglass resin had gone off and been given sufficient time to harden, I popped the mold loose. You can see where the paint was before and after I had to remove it.
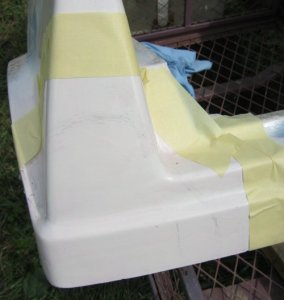
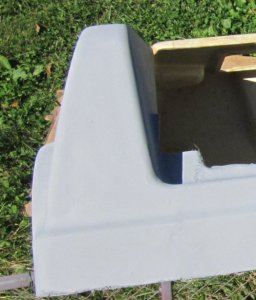
After sanding around the edges, adding body filler, more sanding, more body filler, and more sanding the left rear was ready for primer.
With a little more body filler and sanding, the entire rear section was completed.
Both the left and right front sections required that I make molds from the 55. Since that was the same procedure I used for the rear section, I won’t repeat it here.
The front section had been crushed inward and had a lot of cracks. After making molds and repairing the busted out sections, I used a Dremel tool to enlarge the cracks.
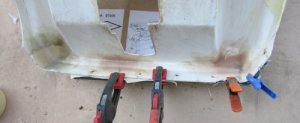
Since the section was pushed inward, I had to clamp a piece of steel against it to hold it straight and apply the fiberglass in sections. In the picture with the clamps you should be able to see the repair in the left front.
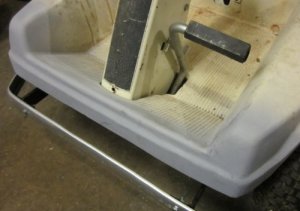
After several applications of body filler and wet sanding, the front section was ready for primer as well.
I still need to do more work to the deck (battery cover) and paint everything but that will have to wait for warmer weather. When I get that done you’ll read about it here.
