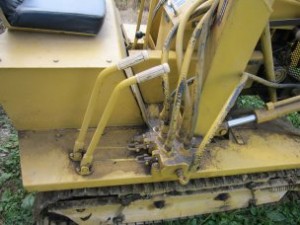
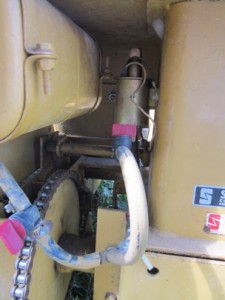
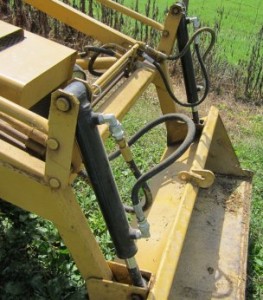
The gentleman I purchased the dozer from was a heavy equipment operator. He didn’t like the location of the controls on the dozer when he purchased it so he had mounted a control valve on the right fender next to the operator. That location worked so well for me that I’ve always left it.
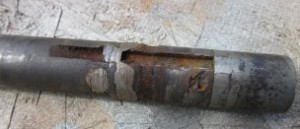
The ground speed for the MT2000 is obtained using a Peerless 2338 transmission. The transmission is belt driven from the Tecumseh 16 hp engine. There is a 16 tooth sprocket mounted on each end of the Peerless axle. The 16 tooth sprocket drives a 32 tooth sprocket on the main axle using a No. 50 chain. When I purchased my dozer, the left side was in bad shape. The 32 tooth sprocket was badly worn and the 16 tooth sprocket had been welded to the Peerless axle. I cut off the 16 tooth sprocket and turned down the axle. But I didn’t like the looks of the result. I don’t think you can see in the picture, but there are several “pits” from the welding operation.
I contacted Struck and purchased a new axle. I purchased a 16 tooth sprocket from Surplus Center along with a 32 tooth sprocket with a 2 inch bore. I couldn’t located a sprocket with the correct bore, so I removed the 32 tooth sprocket and turned it down to a 2 inch diameter. I then welded the 32 tooth sprocket that I’d purchased to the turned down hub.
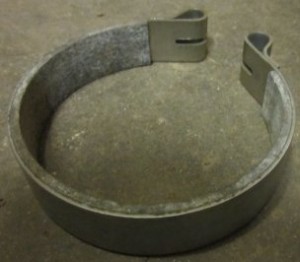
There were two other items that required immediate attention. The MT2000 turns by braking either rear axle. There’s a 54 tooth sprocket that drives a 11 tooth sprocket connected to a brake drum. The 11:54 ratio gives the system a large mechanical advantage for braking. The brake band around the circumference of the brake drum provides the braking action. When I purchased my Magnatrac, the brake lining on the band on the right side was gone and had been replaced by about several short, one inch sections of water hose. While I was ordering the replacement axle, I also ordered two new brake bands.
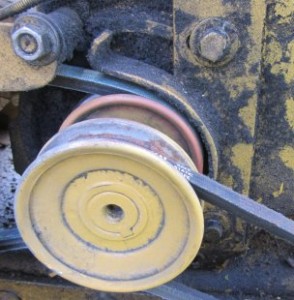
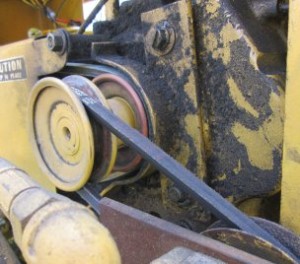
The other problem had to do with the shifting. No matter what I tried, I had to “grind” gears to shift. The gentleman I purchased the Magnatrac from hadn’t owned it that long but said he’d always had that problem. Upon investigation, I discovered that even with the clutch depressed, the drive belt would “lay down” in the front pulley and grab. When I looked at the parts breakdown I found that there was supposed to be a shield (bracket) around the front pulley. Since the Assembly manual comes with all the parts drawing, I was able to manufacture a new shield. The shield wasn’t so much to protect the operator as it was to help with the clutching. Now when the clutch is depressed, the natural stiffness of the belt causes it to press outward against the inside of the shield which doesn’t allow it to lay down in the pulley and grab. I’ve had no problems since.
With those problems fixed, I used the dozer for several jobs around our property.
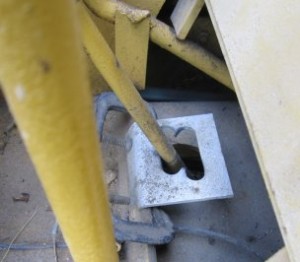
One thing quickly became obvious. First gear was a pain. On the Peerless 2338 transmission, both 1st and 2nd gear positions are back to the right and in line. If you go too far, you’re in 1st. A little to the left and you’re in second. 1st gear is what I’ve always heard called “grand daddy”. It’s really, really, really slow – too slow for any operations I was doing. And I was always hunting to find second gear. So, I cut out a plate and installed it that prevented the shifter from moving too far to the right.
You may be able to see in the picture that the plate is held in position by two c-clamps. I’ve always figured I’d drill some holes and mount it more permanently, but it’s been that way for years and works fine. I think I’ll leave it.
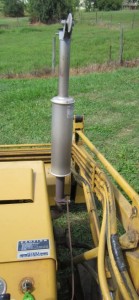
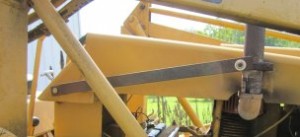
One other thing that bothered me over time was the location of the exhaust. The exhaust blew directly on one of the lift cylinders. That always bothered me and when I had to pay to have that cylinder rebuilt, it bothered me even more. I’m not sure that’s the cause of the failure, but I’m sure it didn’t help. So, I removed the muffler that was on the engine, installed an elbow pointed upward and replaced the muffler with one from an International Cub. I was a little concerned about the weight on the exhaust pipe at the engine, so I added a support.
On the MT2000 the fuel tank is located under the left rear fender. There’s a long fuel line that runs from the fuel tank to the engine that is located under the front hood of the dozer. I don’t know if it’s just my dozer, but it seemed like that line and the carburetor had no fuel in them after the dozer set for any period of time. It always required cranking the engine for a good period of time before fuel reached the carburetor and the engine would fire. I thought this was putting unnecessary wear on the starter and battery. So I installed an electric fuel pump to cure the problem. I have valves in the fuel line that I can open so the electric fuel pump will fill the line and carb before I try to start the engine. After the line and carb are full I close the valve so that the electric fuel pump is no longer in the fuel system. I installed a toggle switch to turn the electric fuel pump on and off. When the engine is starting and running it uses the original fuel pump installed on the engine. The engine now always starts on the first few revolutions.
The only other problem I’ve encountered is with the two cylinders that tilt the bucket. When I purchased the dozer, the cylinder rods had a nice curve in the end that connects to the bucket. The curve didn’t extend into the cylinder bore and looked almost like it was there on purpose. But, over time the curve got worse and it became obvious that the curves weren’t supposed to be there. So I replaced the two cylinders with cylinders (with larger diameter rods) I purchased from Surplus Center. My plan has been to paint them the correct color but I’ve never gotten around to that yet.
And, that’s it. I’ve used the dozer for all kinds of jobs around our property and couldn’t be happier with it. It’s been a great purchase for us. As always if you have any questions or comments, please feel free to contact me through this website.
