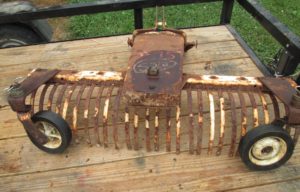
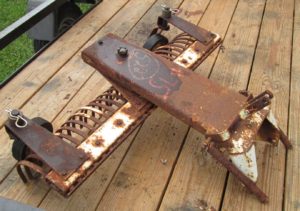
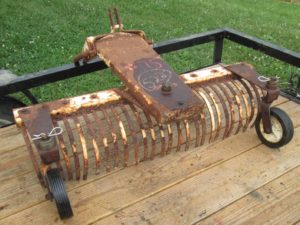
When I purchased the rake it had been sitting outside on it’s back. The rear wheels were rusted in position and would neither pivot or rotate.
Note: All the pictures below were taken “after the fact.” I get in too big of a hurry when I’m disassembling this stuff to stop and take pictures. And, with all the pentrant I use to free stuff up, it gets really too messy to pick up a camera.
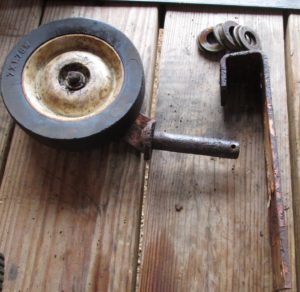
This picture was taken after I’d freed the wheels up, but here’s the position they were stuck in.
The first thing I did was soak everything with a 50/50 mixture of acetone/automatic transmission fluid that I always use to free rusted objects. I removed the two bolts that holds the whole wheel assembly in place so I could support it in my shop vice.
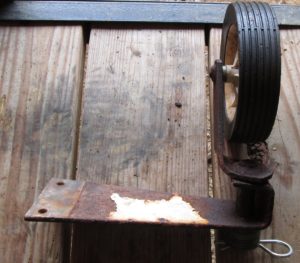
After sitting for a while I managed to get the wheel bracket to just move a little bit by tapping it with a hammer. Once it moved a little, I kept working it back and forth until it would swing freely. The hairpin clip in the top wouldn’t come out so I cut it off flush with the cutoff blade on my angle grinder. With the pin out I kept working the bracket back and forth as I pulled it downward and out of the support.
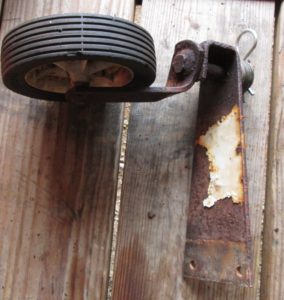
Once out I could drive the remains of the hairpin clip out. To get the wheel off I had to carefully cut off the cotter pin with my angle grinder and work the wheel back and forth as I pulled it off. The Teflon bearing was stuck to the shaft, but the plastic wheel slid off leaving the Teflon bearing. (I didn’t get a picture of that.) By squeezing the bearing with a vice grip pliers, it would deform just enough to come free from the shaft. After squeezing it in a couple places, I managed to work it off the shaft and carefully drive it back into the wheel center.
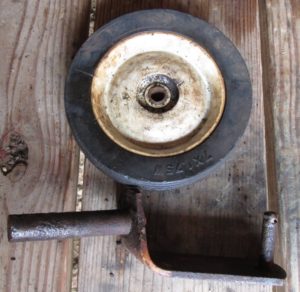
I drove the remaining piece of one of the cotter pins out, but I had to drill the other one. It’s soft metal and drilled pretty easily. Both wheels worked freely after a little sanding and cleaning.

I reassembled everything and everything worked as it should.
As usual, if you have any questions or comments you can contact us through this website.
