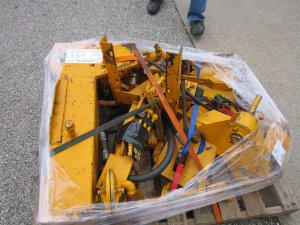
To ship the groundsaw, the seller had to completely disassemble it and place everything on a pallet.
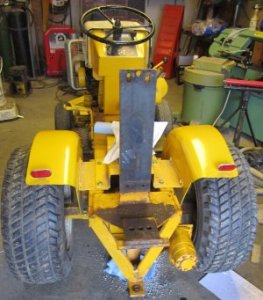
Since it was disassembled, it actually made it a lot easier to mount everything. I started by mounting the rear section to my Cub Cadet.
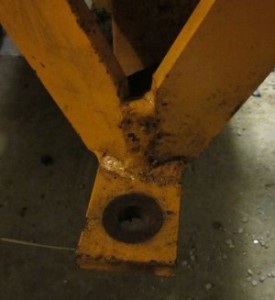
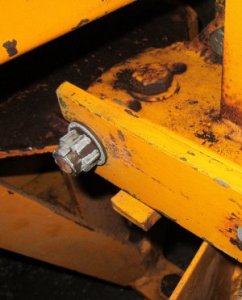
The groundsaw has two sections of angle that extend forward and sit on the frame of the Cub Cadet. They are held in position by the 4 bolts that secure the seat spring support. The groundsaw also has a flat that extends forward to the Cadet rear drawbar and is held in position by a 5/8 inch bolt.
With this section completed, the oil reservoir and hydraulic controls could be mounted. The oil reservoir was connected to this section by six 3/8” bolts. Since the groundsaw had never been used, the reservoir was empty and wasn’t too heavy. I did end up placing supports under it to hold it in position while bolting it in place. The handles for the hydraulic controls had never been mounted in the correct position but that was one of the last things I worked on.
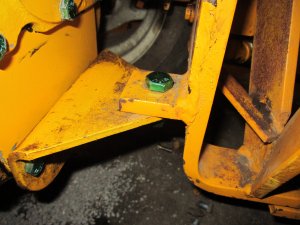
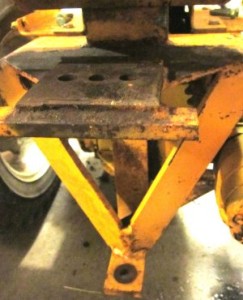
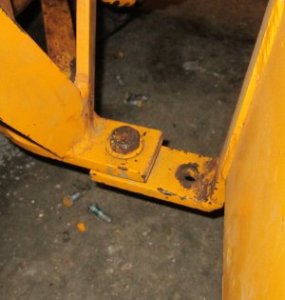
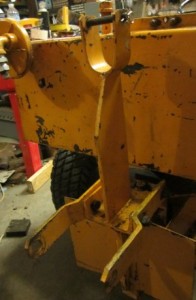
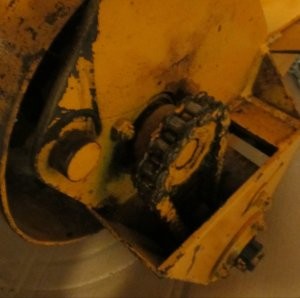
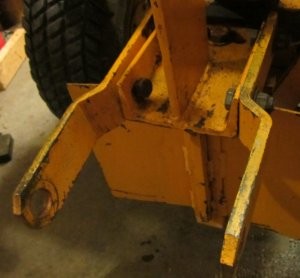
With the oil reservoir in position, it was time to mount the section that supports the digging assembly. You can see the two mounting positions in the pictures below. You can see the top connection extending out under the oil reservoir and the bottom connection below it. This section is mounted with two ¾” bolts and is allowed to pivot so the groundsaw can dig in an arc. Since the groundsaw will only be used for display, I tightened the bolts down so the section could not easily pivot. The section has an arm that extends upward to provide a top mount for the hydraulic cylinder that raises and lowers the blade. In the pictures you can see the two arms that extend rearward that hold the digging assembly. Here’s pictures of the top and bottom pivots.
And here’s a picture of the bracket that mounts the top of the cylinder.
It wasn’t as hard to mount the digging assembly as I thought it would be. The digging assembly consists of the hydraulic drive motor, digging arm and chain, and dirt auger. It is supported by two arms and the hydraulic cylinder that allow it to pivot up and down.
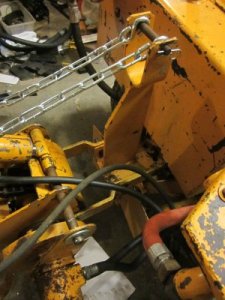
I began by attaching the arm on the left. I could then raise the back of the digging assembly and slide the support into this arm. It was then a “not too difficult” task to swing the digging assembly up into position and attach the right arm. Attaching the hydraulic cylinder completed the main part of the mounting. I did disconnect the hydraulic cylinder and replace it with a chain since I didn’t have the hydraulics installed.
Now the only thing remaining besides the hydraulics was the control valves. They were pretty easy to install. It was just a matter of making sure the pins fit in a direction that I could install the cotter pins.
The only remaining problem was the main hydraulic pump that drives everything. The groundsaw came with a coupler that is supposed to be used to couple the hydraulic pump directly to the front of the engine. That meant the pump would be cantilevered out the front of the grill. It also came with an arm that could be attached to the pump to prevent rotation.
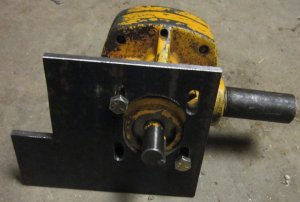
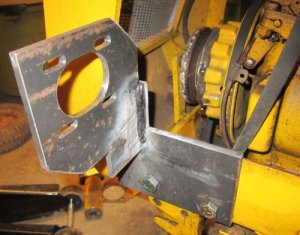
Besides the fact that this meant the Cub Cadet engine would continually have to operate the pump, it also required that a large hole be cut in the front grill and grill housing. Since the groundsaw is only going to be used for shows, neither of these requirements were especially appealing to me. I decided I’d rather have the pump belt driven off the front PTO of the Cub Cadet. That meant the pump could be operated only when I wanted. I machined a bracket to mount the pump.
The section that is cut out of the corner is for clearance for one of the hydraulic lines.
The plan is to mount the pump to the side of the tractor frame.
I cut off a section of 3/8” flat and bolted it to the side of the tractor. After a lot of figuring and measuring, I determined where to weld the bracket I’d made to this plate. After welding and some trimming, the finished bracket looked like this:
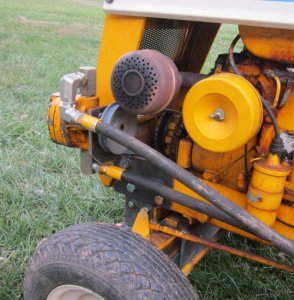
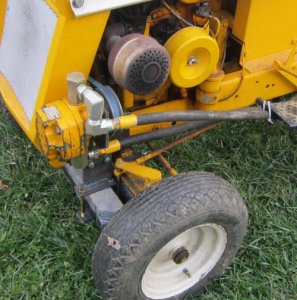
And, with the pump mounted and hydraulic lines connected:
You might notice the two elbows I had to add where the suction line connects to the top of the pump. I wasn’t crazy about that but it was necessary to get below the exhaust muffler. Also, the groundsaw originally came with 1” hydraulic lines. Since these are stiff and hard to work with, I elected to replace them with ½” lines. When I tried the system out, these lines seemed to work fine. If I was going to actually use this thing a lot, that might have become more of a problem.
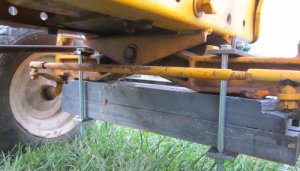
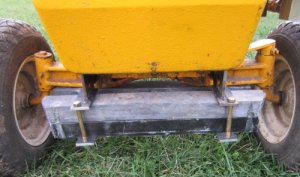
When I had finished the original mounting and backed the tractor our of my shop to take a picture, it was really, really light on the front end. I knew that would have to be corrected. A friend had given me four 25 pound lead bars that I could mount to the front of the tractor. I suspended two of them directly below the front axle.
You might notice in the picture above I had to remove a small section of lead in the top corner of the lead bar. After a little trial and error, I discovered the best way to cut the lead was with a SawsAll and a wood cutting blade.
For the front two weights, I used a bracket I made that connected to the quick attach bracket on the Cub Cadet. There are two 3/8” holes in the quick attach bracket that I used to mount my bracket. I suspended two more 25 pound weights in front of the front axle using the brackets I’d made.
 And that’s it. I’m considering adding a little more weight on top of the two lead weights shown in the picture above. But, other than that and some painting that has to wait for warmer weather, I think I’m done.
As always, if you have any questions or comments, please contact me through this website.
